And Yet More Figs

Fig Jam

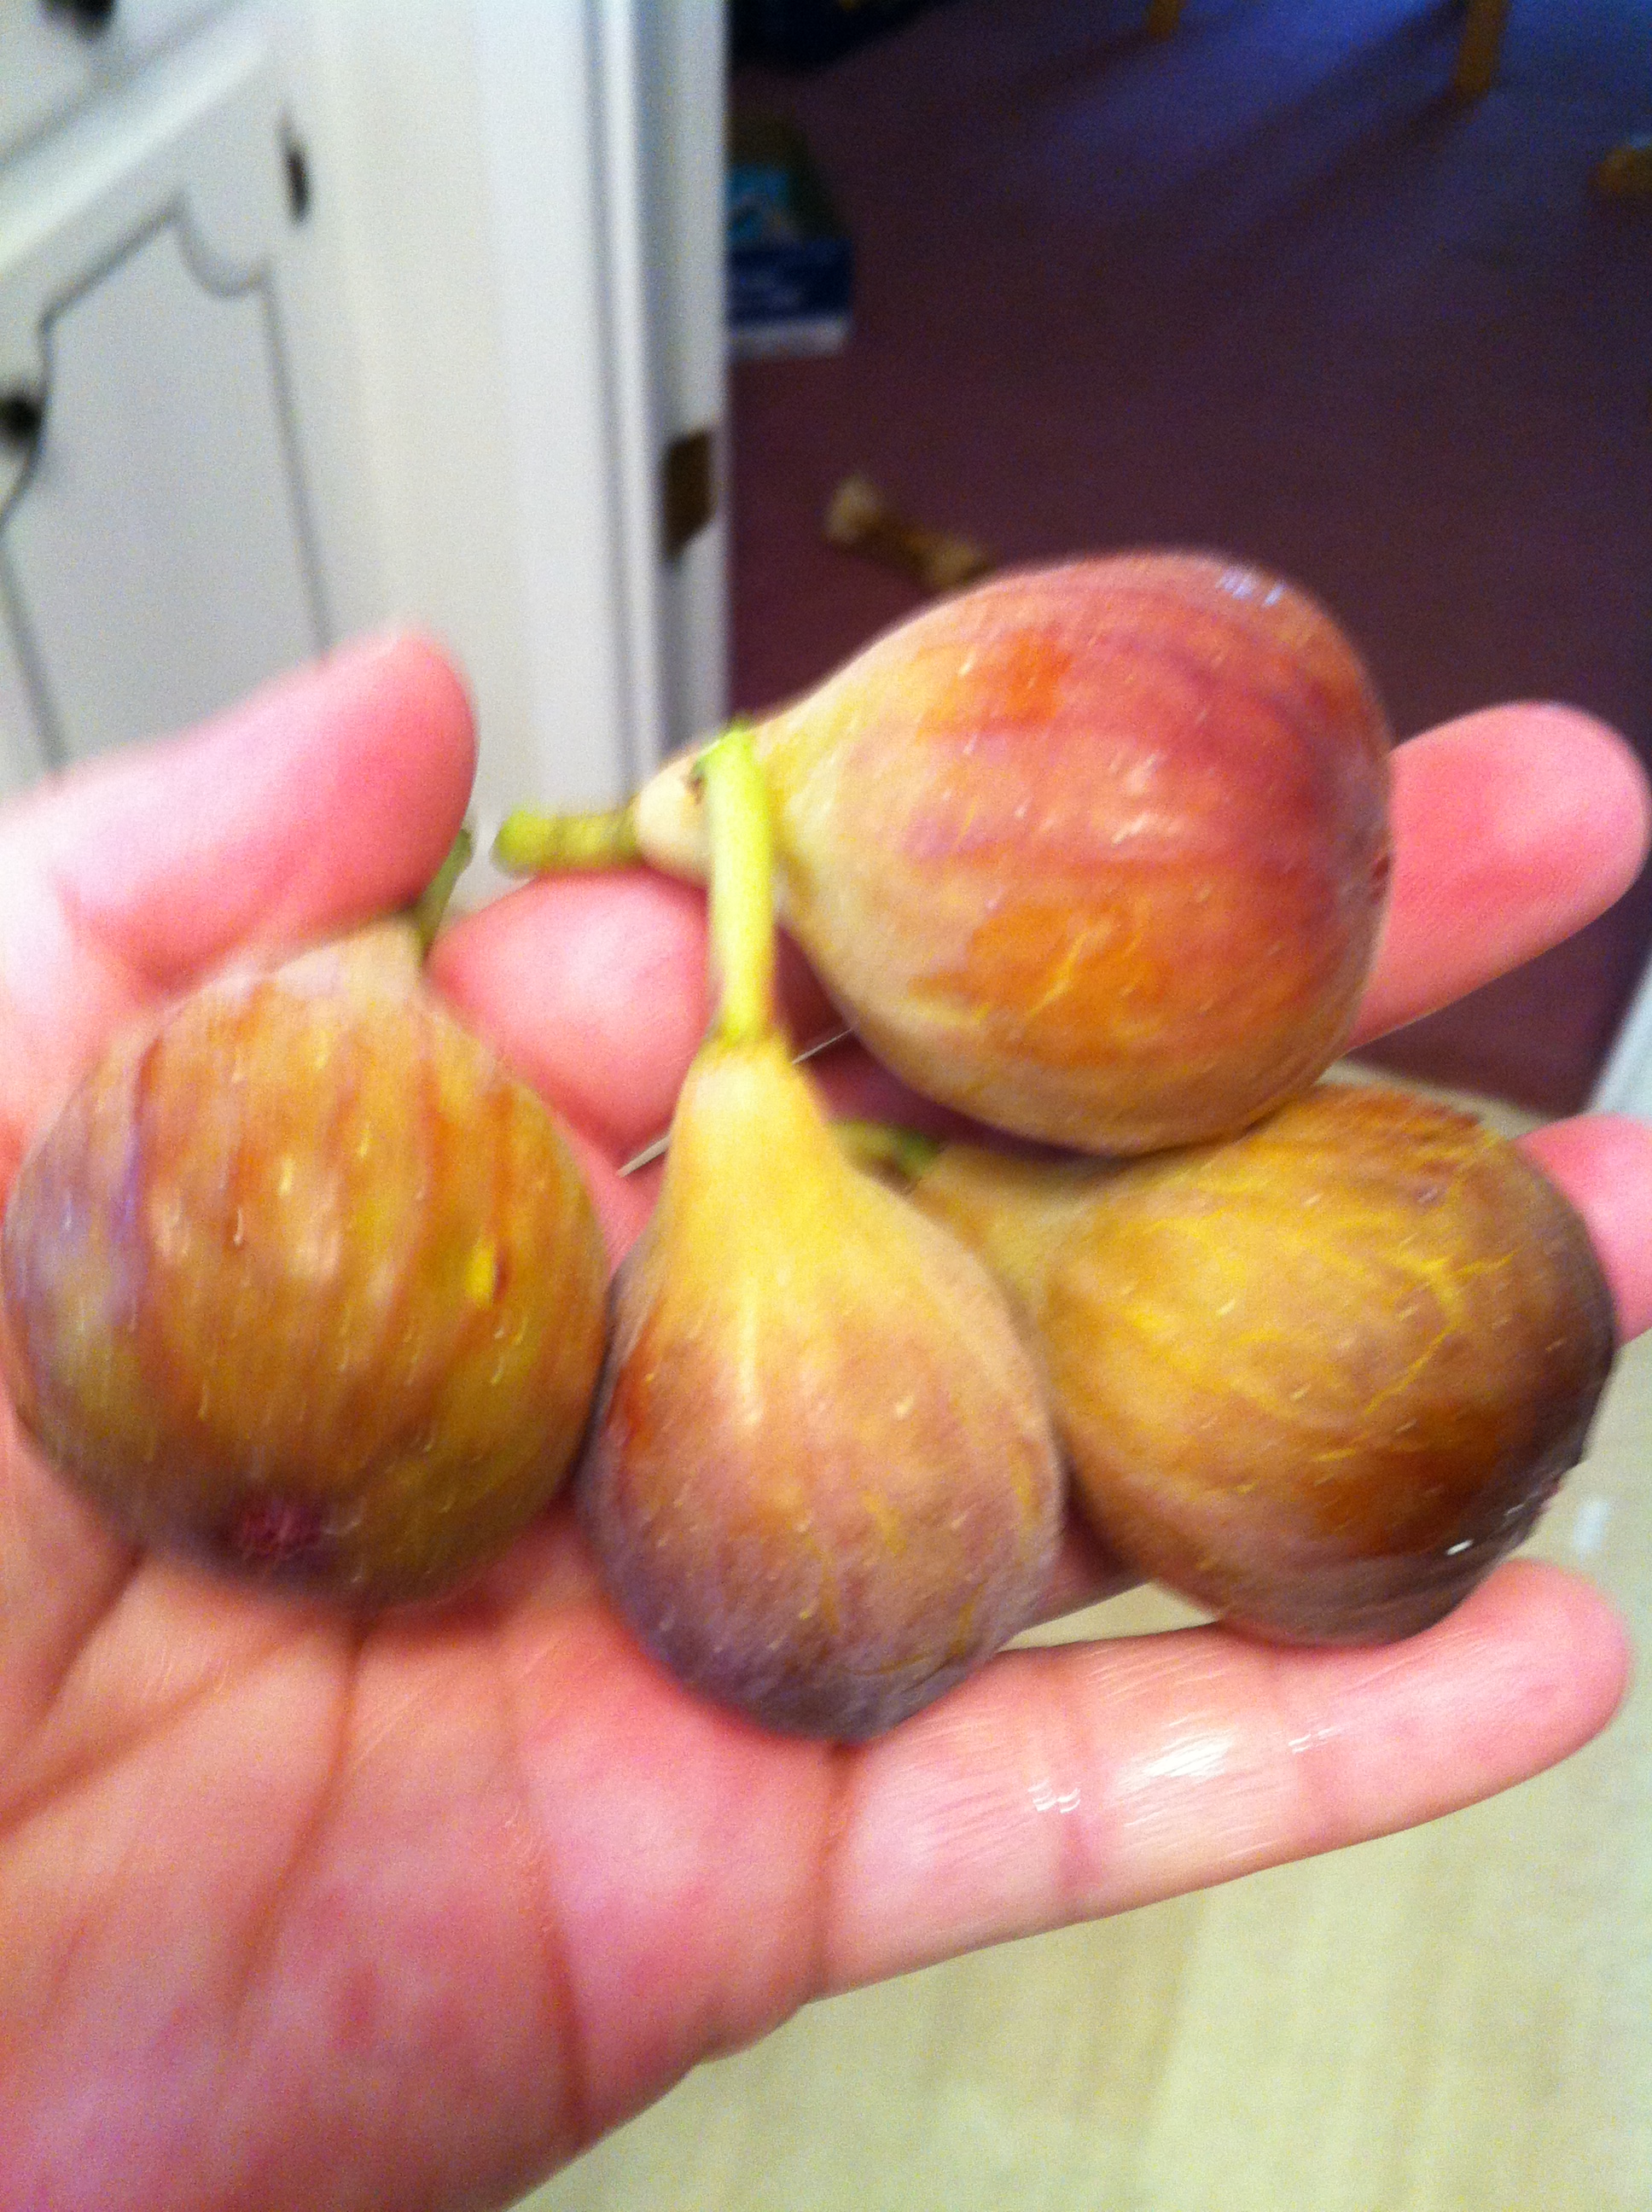
Today is a “play in the kitchen” day. I have already made a double run of the traditional Mock Strawberry Jam. We have given away figs to a few people and still have a tree full. This is when the tree is at its peak and they need to be picked every day unless you just want to feed the birds, squirrels and fruit flies. Needless to say I am spending my Sunday in the kitchen making two double batches of jam. I am not about to heat everything up for just a single batch so it is at least a double batch or nothing.

First thing you have to do is get everything ready. Frank and Dean are cranked and the work begins. Yeh, yeh , yeh… don’t hate on my choice of music… it has a very wide range. Later today you may hear Macklemore but if I had a Tardis (I am old, not dead, yes I know what a Tardis is) I would love to go back in time and see Frank Sinatra or Dean Martin in a Vegas show.  I try to get all of my items laid out before I even start cooking.

Start with a clean work area (don’t really feel this needs to be said but just in case).  Have your jars either clean and set out or in the dishwasher getting clean.  Food processor, stock pot, sugar, jello, figs, spoons… I set it all out.

I am playing with the recipe I have but the original is the one I will give you and the only ingredient I toyed with was the fruit.  I don’t know where this recipe came from so I don’t know who to credit.  I got it from a neighbor but it is all over the web.

Wash and take off the stems of the figs.  Unless you are going to use a knife (lame) then just treat it like a banana.  Whatever peel comes off with the stem is not meant to be in the jam.

 Peel

You can either mash your fruit with a potato masher or do like I did and pulse it in the food processor.  I happened to have some strawberries left from the night before (made a big fruit salad) so I just thought I would toss them in.  It is supposed to taste like strawberries right?  I still used the same measurement of fruit (double batch is 6 cups).  The smell coming from the food processor was amazing.  This prompted a trip back out the the store for more strawberries.  The next batch I used some of those strawberries and I also had about a cup of raspberries and about the same amount of blueberries.  (This is more leftover fruit from the night before.)  Combine the mashed fruit, sugar and water in your pot and start cooking on medium maybe a tad hotter.  Start your water bath now that way it’s ready to go when you are.

Cook It

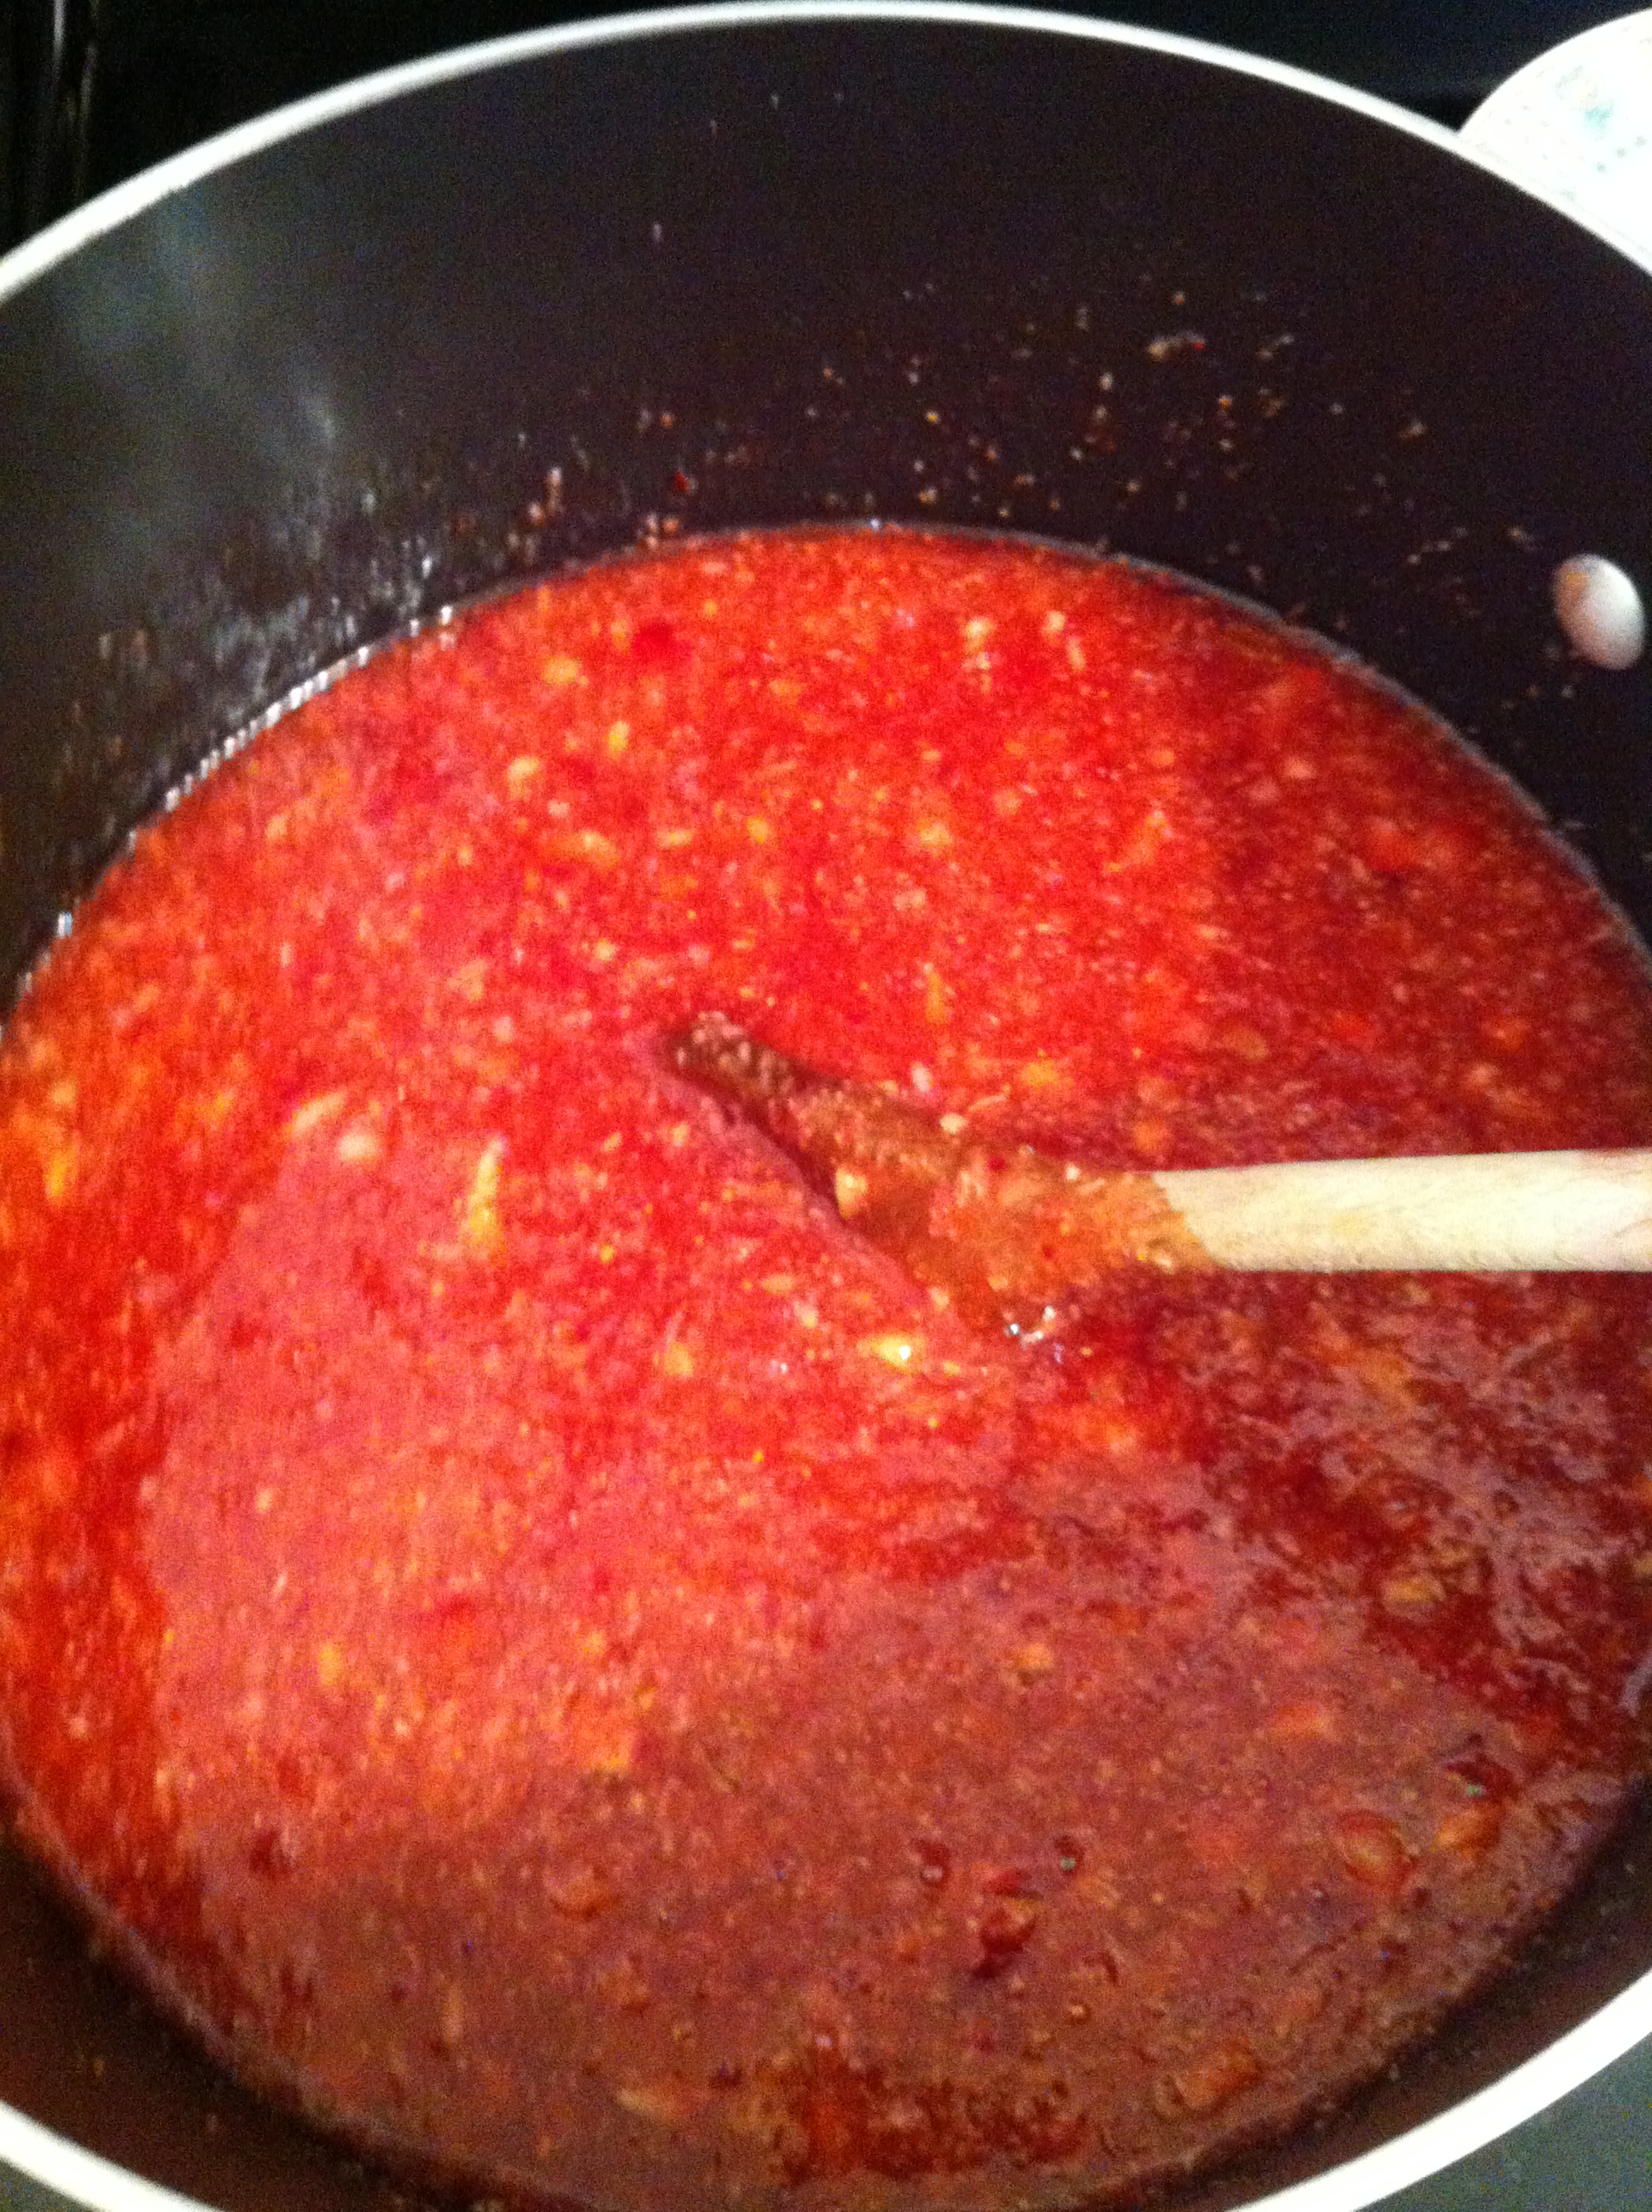
Once this mixture starts to boil it will also foam.

Foam

Skim the foam off into a bowl to discard later.  You don’t have to constantly stir but every few minutes is good.  I skim every time I stir.  Yes, that pot looks really full at the moment but it will cook down and yield eight 1/2 pint jars full of awesomeness – remember this is a double batch.  This is not a speedy process but it also won’t take all day.  In roughly 30 minutes or so it will start to become thicker.  This is when you test for jam consistency.  Like most GRITS (Girls Raised In The South) I own the a copy of the canning bible.  The Complete Book of Home Preserving put out by Ball is a must if you want to learn how to can.  Testing for jam consistency and preserving using a water bath is explained step by step in this book.  Don’t want to get the book?  Google it.  Either way it is stupid easy.  I put about a tablespoon (eye ball it… not rocket science) on a small plate and place that plate in the freezer for about a minute.  When I take it out and run my finger through the middle it holds shape and has thickened just right.  Out to the carport we go.

This is where my wonderful husband has set up the “production area”.  He has the water heating on a fish fryer which means I don’t have to really heat up the house.  The clean jars have been setting in the boiling water until I bring out the hot jam.

Water Bath

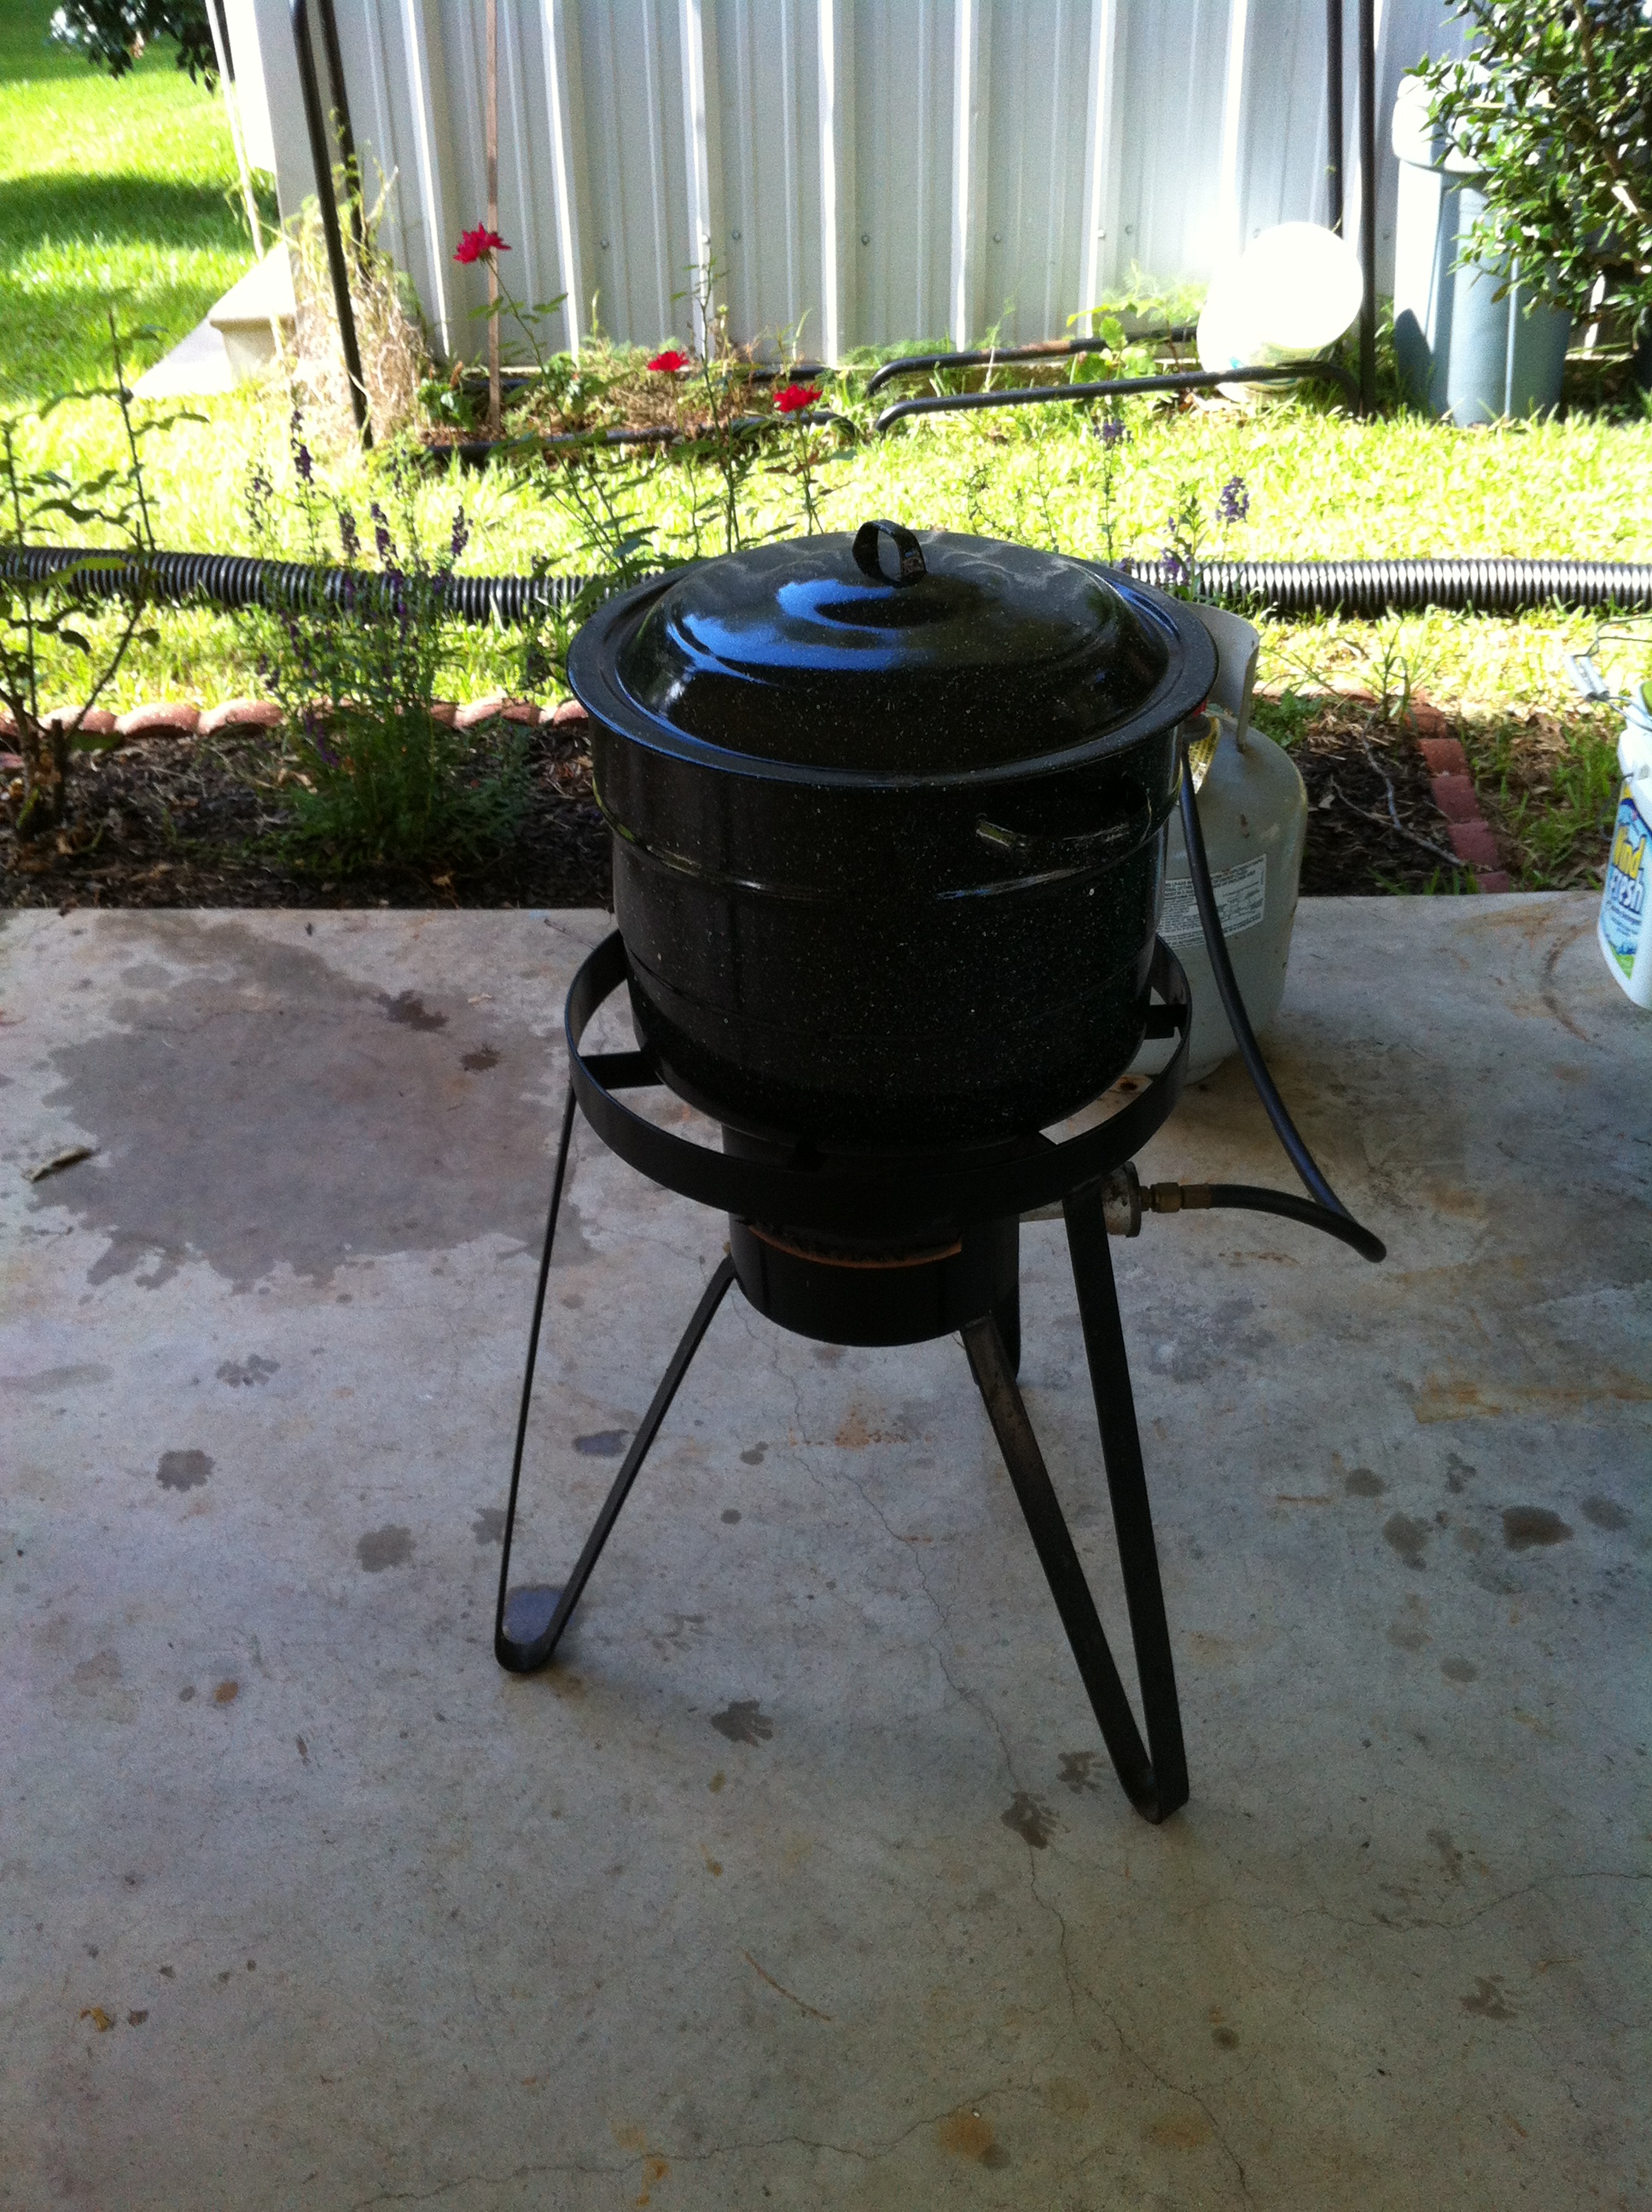
Then he dumps the water out of the jars (back into the pot) and places the hot jars on a small table that looks like we are ready to perform surgery with all the gadgets laid out and ready for use.

Production Line

Pour the hot liquid into the hot jars allowing for 1/4″ head space.  Take a clean damp cloth and wipe the rim clean before you put a canning lid and ring on top.  Put the filled jars back into the water making sure they are covered by about 1″ of water and put the lid on the pot.

Filled Jar

Once the water comes to a boil start timer for 20 minutes.  After the 20 minutes turn the heat off and let the jars continue to sit in the water for 5 more minutes before you take them out.  Put the VERY HOT (if you don’t think jars coming out of boiling water is going to be hot then you shouldn’t be doing this) jars in a draft free area where they will be left undisturbed for roughly 24 hours.  Allons-y!  (Like I said…. old not dead)

Mock Strawberry Jam  (single batch)

3 C mashed, peeled figs (whatever comes off with the stem is more than fine)

3 C sugar

1/2 C water

1 small box strawberry jello

In a large pot, combine all the ingredients and cook to the consistency of jam, stirring occasionally.

Place mixture in hot, clean jars, wipe rim of jar and screw down lid.

Place jars in a water bath and process for 20 minutes then let sit in hot water for an additional 5 minutes.

Remove to a draft free place to cool.

So Many Figs

Yes, I know, I am a horrible person for not updating this blog but life happens. Even as my house empties out it seems there is still never enough time in the day.

My youngest is now a Marine and waiting to “class up” in Pensacola, FL. The trip to Parris Island was amazing. That is a beautiful area! I had never seen marshland before even though I was raised one state over. I have to give praise to the people of Beaufort, SC. They are the embodiment of southern hospitality and the city itself was so very clean. This area hosts parents of graduating Marines on a weekly basis and are extremely supportive.

Spring in Louisiana this year was so pleasant. I played in the yard and have been able to keep most things alive thus far which is a record for me. My best buddies tomato crop has come in so it was time to make salsa. Now it is fig time.  In my back yard there is an amazing fig tree.  I am pretty sure this is of the Mission variety.

Glorious Tree

Glorious Tree

This tree as a rule puts out more figs than I know what to do with.  Last year I canned preserves and fig pickles (sounds weird but pretty good).  The favorite around here is a mock strawberry jam made with figs.  This year I will still put up some of the jam but for now while they are just getting started I wanted to experiment.  My attempt and fig turnovers was an epic failure but Sam suggested cobbler.  This is the recipe I am going to share with you because it was a keeper!

Start with some fresh figs.

straight from the tree

straight from the tree

Wash and dry them, then cut the stems off and quarter them, add lemon juice.  Set this bowl aside.

cut  and quartered figs

In a separate bowl mix sugar, corn starch and cinnamon.  Now prepare your pie crust.  I can not make pie crust (me and Pillsbury are buddies) so I get the roll out and place in pie pan.  Mix the sugar mixture into the figs carefully.  Figs are delicate and if you are not careful you will mash them.  If you aren’t too worried about it being pretty (I was for the pictures) then don’t stress over it.  It will not affect the taste.  If you want to be fancy you can do the lattice top but I am not fancy, even for pictures.  Put the top pie crust on, crimp and trim the edges.  Don’t forget to vent it in some way.  I use a cut in the top something like my mom usually made.

crusted and oven ready

Pop it in the oven for about 40 minutes or so.  You want to notice it trying to bubble out of the vent and the crust to be a nice golden color.  Once you remove it from the oven you can brush the top with some butter (I did).

Baked and Golden

Baked and Golden

Now you should probably let it cool a bit but we were to anxious so out come the ice cream (no self respecting GRIT would serve hot pie without ice cream) and the spoons.

Success!

Success!

Fig Pie

Pie Crust for filled pie

3 1/2 to 4 C figs, quartered

1 tbl lemon juice

2 1/2 tbl corn starch

2/3 C sugar

1/2 tsp cinnamon

Preheat oven to 350

Wash and dry figs.  Remove stems and quarter, add lemon juice and set aside.

Mix sugar, corn starch and cinnamon.  Place one crust in pie pan.  Mix sugar mixture to figs stirring carefully.  Spoon into prepared pie pan and top with remaining crust.  Crimp and trim the edges and place in oven until filling appears bubbly and crust is a golden color.  Roughly 40 minutes give or take (to be honest this isn’t rocket science).  If you wanted to dot the inside with a little butter this would probably be good, I didn’t even think about that until I had the top on.  Once I took it out of the oven I did brush it with a little butter (this was quickly followed by tasting).

Enjoy!


p.s. it’s your turn Jen

Stupid Easy and Cheap

Recently we did some “musical rooms” and I have a lot of my craft stuff in a room that my youngest will use on the rare times she will be visiting over the next year.  I replaced the old blind but it really needed something.  I saw this really cute idea from Shabby Chic called a “Rag” Valance.  There was nothing for me to buy since I have an abundance of leftover material and happened to have the curtain rod.

I used some leftover broadcloth that I cut into 2″ strips.  Most fabric is 45″ wide so I just went with that.

items

After you cut your material into strips I recommend ironing them (I also left mine folded in half when I ironed), it will give it a nice finished look.  Then you just start tying them on the rod.

knot

It is a little easier to get your strips tied closer to the center if you have a second pair of hands.  The amount of strips is a preference thing, just depends on how dense or sparse you want it to look.  This is what mine looked like

finished valance

This was stupid easy to make and didn’t cost me anything but time so it’s a win/win in my book.

It’s all about the food… sorta

I have been so busy lately!

Like my niece, I have been trying new recipes but I am much simpler.  If it makes me hungry I tend to want to try to make it as long as it is easy, quick and reasonably inexpensive (that is cheap to the lay person).  If you read the first post you know that I have become a Pinterest junkie.  All the recipes that I have tried lately can be found there.  The Cheesy Chicken Lasagna was a hit but I think next time I will play with it a little and perhaps use a smaller pan (I like mine a little thicker) and maybe sub out the lasagna for ziti.  Last night I did the Wicked Good and Easy Pork Chops.  They were awesome and moist.  We all really enjoyed them but I think I might try baking them next time.  The breading didn’t want to stay on the chop like it should.  And no, I didn’t forget to try something sweet.  If you want something that isn’t chocolate (which by the way isn’t natural) try Lemon Crinkles.  Stupid easy and they were great.

FYI… if you try the baking soda/essential oil air freshener and you a like a good room filling smell you will not be happy.  I am sure it works for some but I like an air freshener that fills the room with scent.  This did not.  I wasn’t looking for an over powering smell but at least noticeable.

I started a weight loss program through work and if anyone has ever struggled with weight I think I have found the gospel.  Naturally Slim is the name of the program and I will testify that its truly awesome.  I have eaten what I want (with the exception of sweets) and not been hungry which is monumental.  I took the first online class and was extremely doubtful but like asked, I gave Marcia Upson a week.  I not only lost 9 pounds but I shed 9.5 inches.  I am unsure of the cost since this was offered through my work place but if it weren’t I would gladly pay it.  Ok, off the soap box.

I have started on an outside project cleaning out some brush/flowers around an old stump and relocating some clematis.  I almost hate to tempt fate and move it… I haven’t killed it yet.  I will keep you posted.

Trying New Stuff

This is a couple of days after the fact but some might find it helpful.

Last Sunday, I spent completing the process of converting a bedroom into a place Katie and I can share when she comes to visit or on the rare occasion we actually have company.

My grandmother used to tell me that “she who dies with the most fabric wins”. I may not win but I think I can at least place. I sorted it into different piles and areas. The still folded fabric was put in the dresser. The unfinished projects were sorted to be finished (my goal is to complete at least one a month). The yarn was all put in a laundry tote no longer being used and all the cross stitch stuff (that I really can’t see anymore) was put in a box on the top shelf. I had all my ribbon spools thrown into a tote but I saw a couple of neat ideas on Pinterest on how to store/use all that ribbon. The one that really caught my eye used a basket and dowel rods.  Not having the cute little basket I re-purposed (like that?  new word in my vocabulary) some small crates Sam had used when she was living in the dorm.  Gene drilled a couple of holes, measured and hung them up for me.  I will probably shorten the rods and paint them but for now this works just fine.

ribbon

Did I mention I am not a photographer?

Sunday was a busy day for trying stuff.  I also tried my hand at panir cheese.  My wonderful niece had posted a recipe for it on her blog 100 First Tastes.  Let me preface this with the statement that if the apocalypse were tomorrow I want to be wherever she is because I won’t starve (a fact her mother pointed out to me).  I had the ingredients so I thought what the hell.  Needless to say, as long as there is an option, I think I will stick with cheddar.

There was some leftover coffee on Sunday so instead of tossing it, back to Pinterest I went.  Come to find out there is an enormous amount of uses for not only the liquid but the used grounds as well.  There is now a bowl for the used grounds to go in and a container in the fridge for the leftover coffee.  Although there really wasn’t a great deal of coffee used, I swapped the water for coffee in a brownie mix.  They seemed to taste more “dark” (which I loved).  Next use will be as a meat tenderizer/marinade but that is on next weeks menu.

Maybe I can get a better picture taken of my next project.  The cabinet under the sink is going to get a makeover.

Oh my word!  Apparently I am not much of a blogger either since I completely forgot to publish this.  Ooops!

The cabinet makeover is complete.  I had read a tidbit about using the press and stick floor tiles to redo the surface of the cabinet under the kitchen sink.  I had some that was left from a previous project (helpful hint – they DO NOT work well on the wall behind the stove) so I gave it a whirl.  The process itself is simple and the tools used are fairly common household tools.  Take out a tape measure, a utility knife and a straight edge of some sort (a yardstick works fine).  To be honest, the only time I used the tape measure was to make sure what I cut off measured the same on both edges of a tile if I had to cut.  Gene was at work or this simple project would have become a major undertaking.  It’s under the sink!  I don’t think the edge has to be completely flush, level, plumb and all the other terms he would have been spouting.  It is not flush but very close and will NEVER be seen.  I did learn that the tiles tend to stick much better if they aren’t cold.  Mine were stored out in Gene’s shop/toy room.  After I let them warm up, and tossed out the tile I screwed up, I got started.  I tried to make sure that the trimmed tiles were on the back row and far left edge (my cabinet goes right to left).  This truly turned out wonderful and I will probably do the same thing in the bathroom when I get around to painting it this spring.

IMG_0154

Not too shabby for tile bought at Big Lots for less than $10.

Really good stuff

Well, it’s been a very busy week but I thought I would take today out to try some of the cool stuff I have found on Pinterest.

The first thing I tried is to use leftover coffee as a marinade for beef.  The jury is still out on that tidbit.  I had beef stew on the menu for tonight.  Yes, I said menu – that’s how I do my grocery shopping.  I plan out at least 4 different dinners and we do leftovers on the others except for Friday.  Friday is take out night.  Ok… back to the beef.  I seasoned it (think I used konriko, worcestershire, salt and pepper) and put it in a large ziploc bag. After I poured about a cup of left over coffee in, I sealed the bag (getting out as much of the air as possible) and put it in the fridge for over night.  If it tastes half as good as it smells it will be awesome.

Since the weather is starting to warm up it is time to  plant new things to kill.  This usually entails at least a weekend outside and needless to say some really dirty hands.  I found a recipe to make Gardeners Hand Scrub.  It called for sugar and pink dawn.  This was a snap to make and I think I will also be keeping a jar of this next to the kitchen sink.

Of course, I am trying to lose weight and what do I make?  Yep, cookies.  The picture caught my eye and I was looking for something that wasn’t chocolate (yeh, now the chocolate Gods will get me).  I made Lemon Crinkle Cookies.  They weren’t any harder to make than the soap and Gene tried to tell me they were “horrible, to get something else”.  Of course, this is his way of saying “these are really good and I’m not sharing”.  I am always surprised when the end product looks like the recipe.

IMG_0158


If only someone would post how to get the laundry done without leaving my chair…

I really haven’t got a clue….

My wonderful children are leaving home.  Out of the three I started with (animals and husbands although similar to children don’t count) there is still one at home and even that seems to be only part-time.  Yep, you guessed it, she comes home to eat and sleep praying the entire time that I have gotten fed up enough to wash some of her laundry.

Now I find myself with time and space and not even a clue what I am going to do with it.

The newly empty bedroom has begun the transformation into guest bedroom/my “toy” room.  After most of Katie’s belongings to either the Goodwill pile, friend pile or keep pile the room swap began.  During the move-in/clean out process I found so much absolute crap.  LOL  I found items that were “lost” and replaced (a couple of times), countless started but unfinished projects (I have to admit at least half of those are mine) and just plain trash.

When I sat down for a few minutes yesterday I decided to just write this stuff down and share it.  I have become a Pinterest junkie.  So… I will be trying lots of new stuff.  I plan on keeping busy so that the quiet in my emptying nest doesn’t make me go bonkers.  Not to mention the promise I made to Katie before she left for Recruit Training… I promised to lose weight and (here is the kicker) quit smoking while she becoming a Marine.

I am new to blogs so be patient with me as I learn and maybe we will all learn something.